Preface
Project address: Live-dashboard
The tutorial is completed on a Linux server.
Start Building
Before building, ensure Docker is installed on the server.
CodeBlock Loading...
One-Click Deployment
1. Generate Keys
CodeBlock Loading...
2. Start the Container
The format of DEVICE_TOKEN is key:deviceID:deviceName:platform.
If you only have one device:
CodeBlock Loading...
Multiple devices:
CodeBlock Loading...
Note: Each device must have its own DEVICE_TOKEN_N. Neither the key nor the device ID can be duplicated. If two devices share the same TOKEN, they will be displayed as the same device, and their statuses will overwrite each other.
Need more devices? Continue adding DEVICETOKEN3, DEVICETOKEN4... Numbering does not need to be consecutive.
Need to add a device to an existing container? You need to stop and delete the old container first, then rebuild it with the new command. Data is saved in the
dashboard_datavolume and will not be lost:
CodeBlock Loading...
3. Open the Browser
Visit http://localhost:3000. If you see the dashboard page, it means the server is ready (there will be no device data at this point, and it will display night mode).
Customize Site Metadata
CodeBlock Loading...
In addition to the display name, you can also customize the browser tab title, page description, and website favicon:
CodeBlock Loading...
Configure Agent
Agent Configuration - Windows
Download
live-dashboard-agent.exefrom the original author's GitHub Releases.Double-click to run it directly. On the first run, a settings dialog will automatically pop up. Fill in the server address and Token.
After configuration, the Agent will automatically start reporting.
For details, see the original author's tutorial: Agent Configuration - Windows
Agent Configuration - macOS
Download
live-dashboard-agent-macos.zipfrom the original author's GitHub Releases.Unzip and run it directly. On the first run, a settings dialog will automatically pop up. Fill in the server address and Token.
After configuration, the Agent will automatically start reporting.
For details, see the original author's tutorial: Agent Configuration - macOS
Agent Configuration - Android
As of
2026.4.23 23:06, because the version from the author's GitHub Releases cannot correctly obtain application names, please use the modified version. Download address: LiveDashboard
After installation, open the APP, go to the "Settings" page, and fill in the server address and Token.
Go to the "Health" page, click the "Authorize" button to grant
Health Connectpermissions, and select the data types to sync (default is all).Important: On the "Status" page, use
Shizukuto grant authorization (otherwise, application names cannot be obtained).On the "Status" page, enable keep-alive permissions.
Result Preview
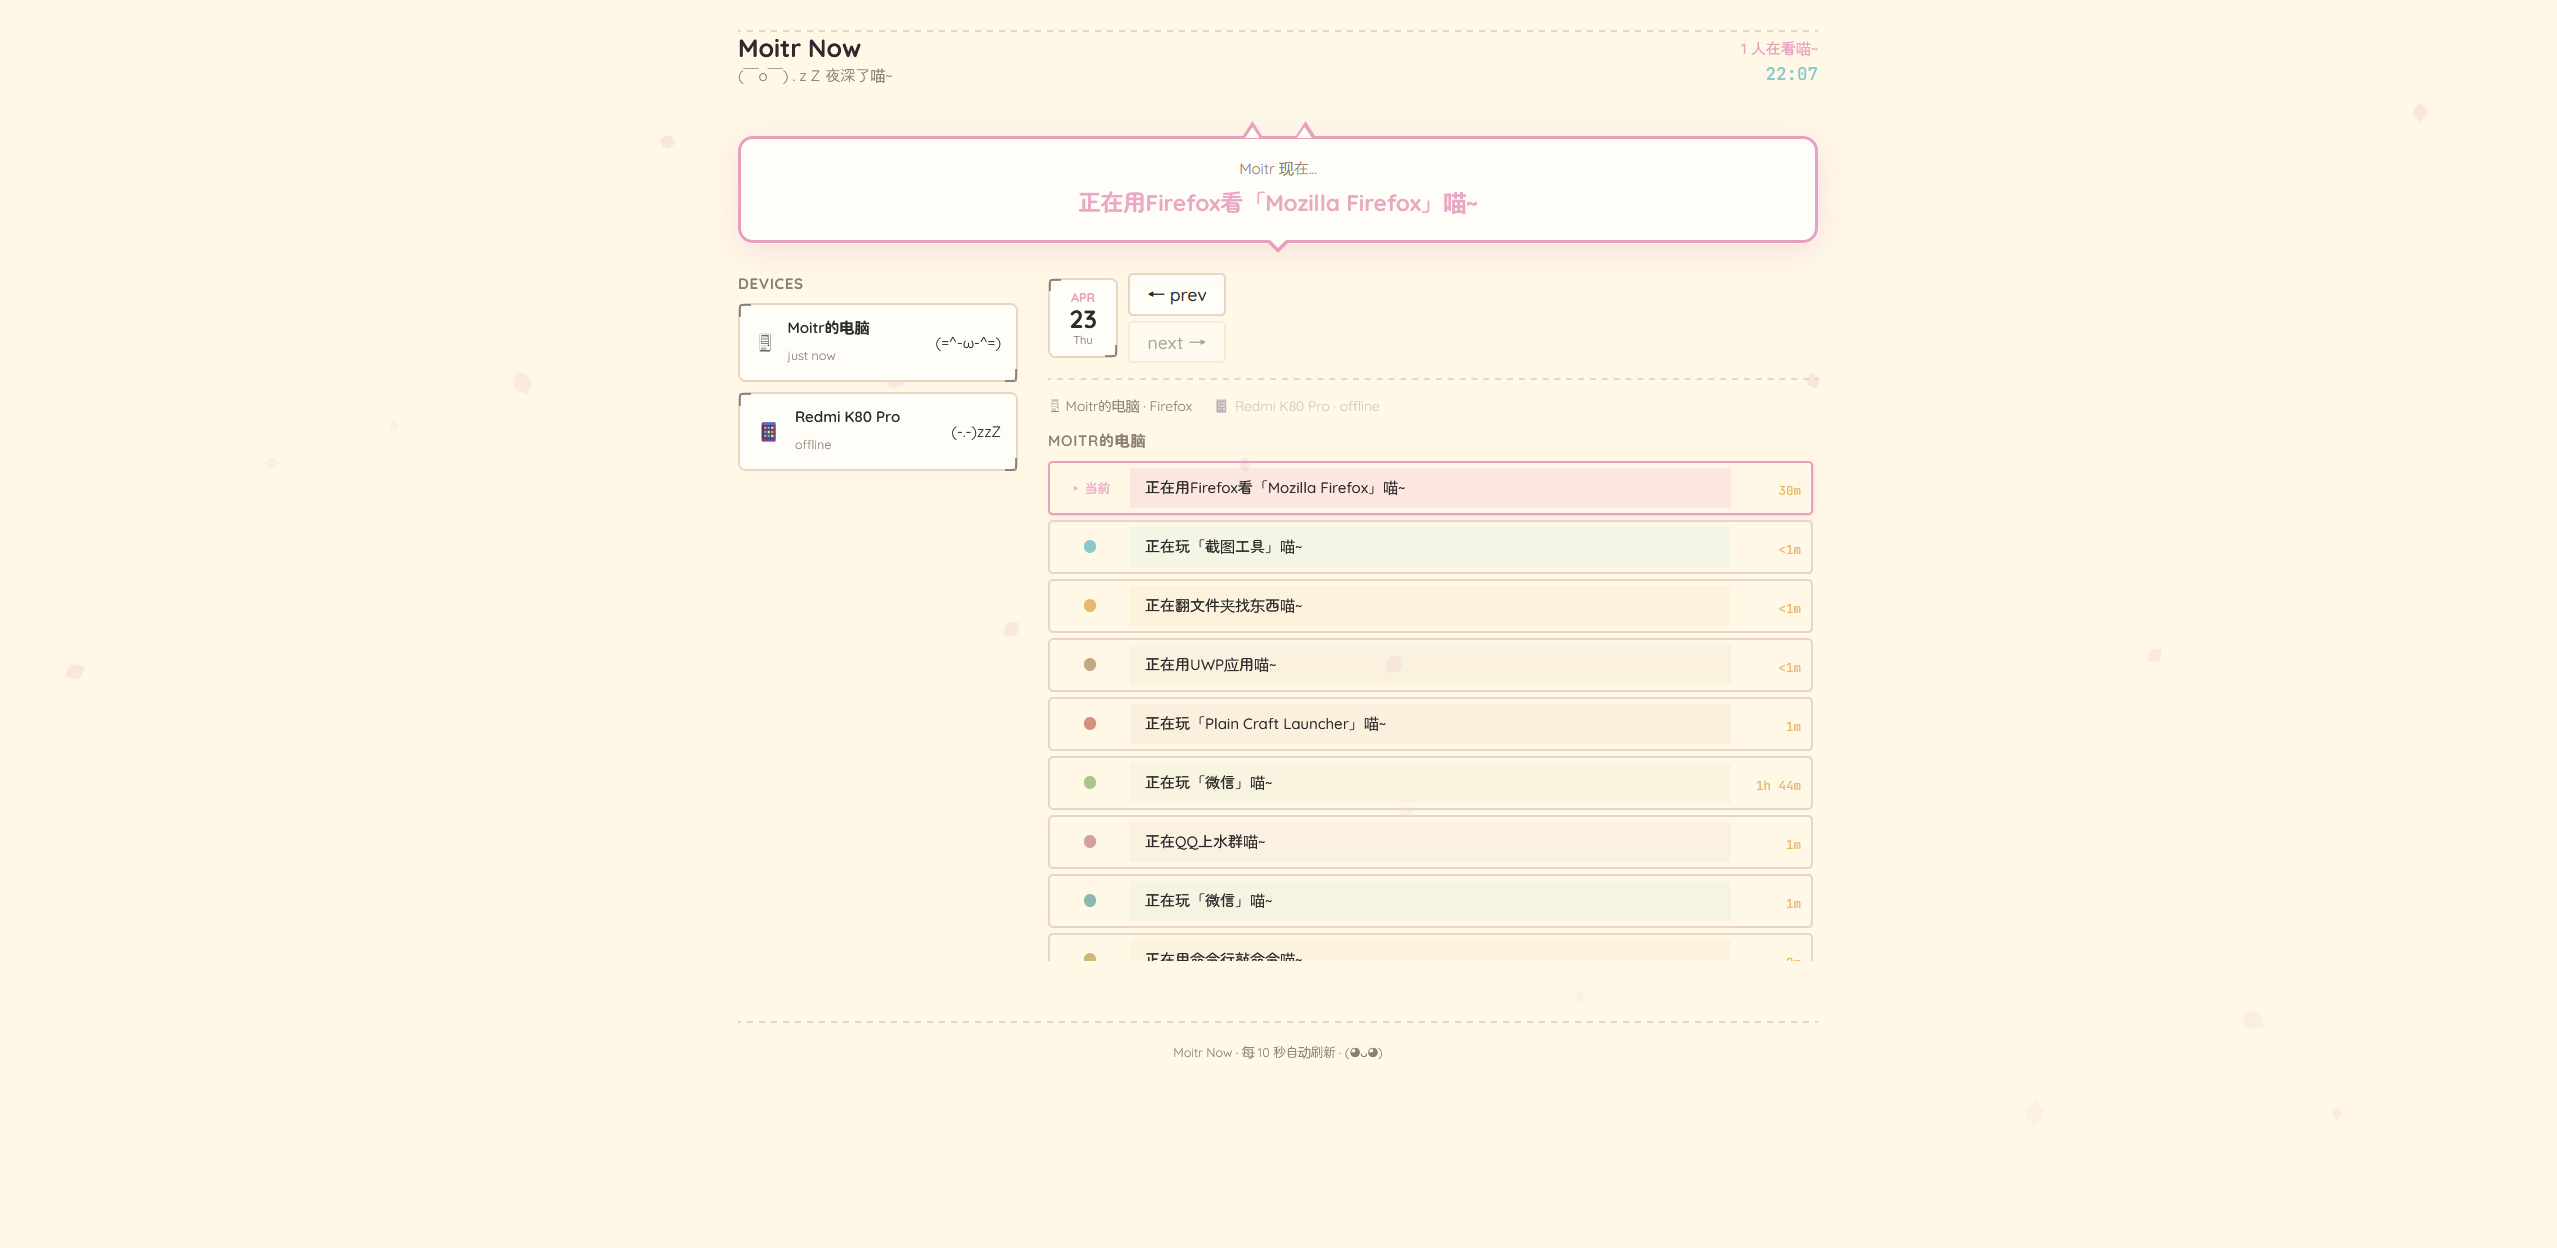
Result
Conclusion
Everyone is welcome to monitor me: Moitr Now